Thursday, February 28, 2013

Makeup Brush Holders and Cleaning Tips

This is really important. Like, it's critical.  In today's installment of "things Boo finds completely useless," we're talking about makeup! What is more pressing? Right? Okay, maybe not...

I recently got a new Bobbi Brown brush set and realized I really didn't like the carrier case the brushes came in. Unzip, remove, use, replace to the correct compartment, zip again.  Too many steps for a little shimmer brick on my cheeks. 

Now, I'm no professional when it comes to makeup applications. I leave that to people like my friend Danielle (a girl, and RD-to-be, with actual talent). But, if you're like me, you have plenty of makeup brushes in your collection that need organization. 

I saw a Pinterest board using rice and dried beans to hold makeup brushes in small glass canisters. I took this idea up a notch - I used coffee beans: they smell good and look even better.  Need I remind you about my morning coffee routine?

What you'll need:
Coffee beans, whole (about 1 lb.)
2 glass canisters or jars with wide mouths (likely procured at the Dollar Store)
Makeup brushes to fill them (I'm sure you have plenty of those, right?!)

Directions:
1. Wash and dry glass canisters
2. Empty coffee beans into canisters, splitting evenly between the two*
3. Arrange your brushes -- bristle side facing up (as in, not into the beans themselves)
4. Apply makeup as you normally would (I can't shouldn't give you advice on that...)

*if you only need one canister, try about 1/2lb beans. I found my beans in the self service coffee section of the grocery store. Of course Starbucks, Dunkin' Donuts and other coffee chops sell whole beans, but I was at the market and killed two birds with one stone. Efficiency!

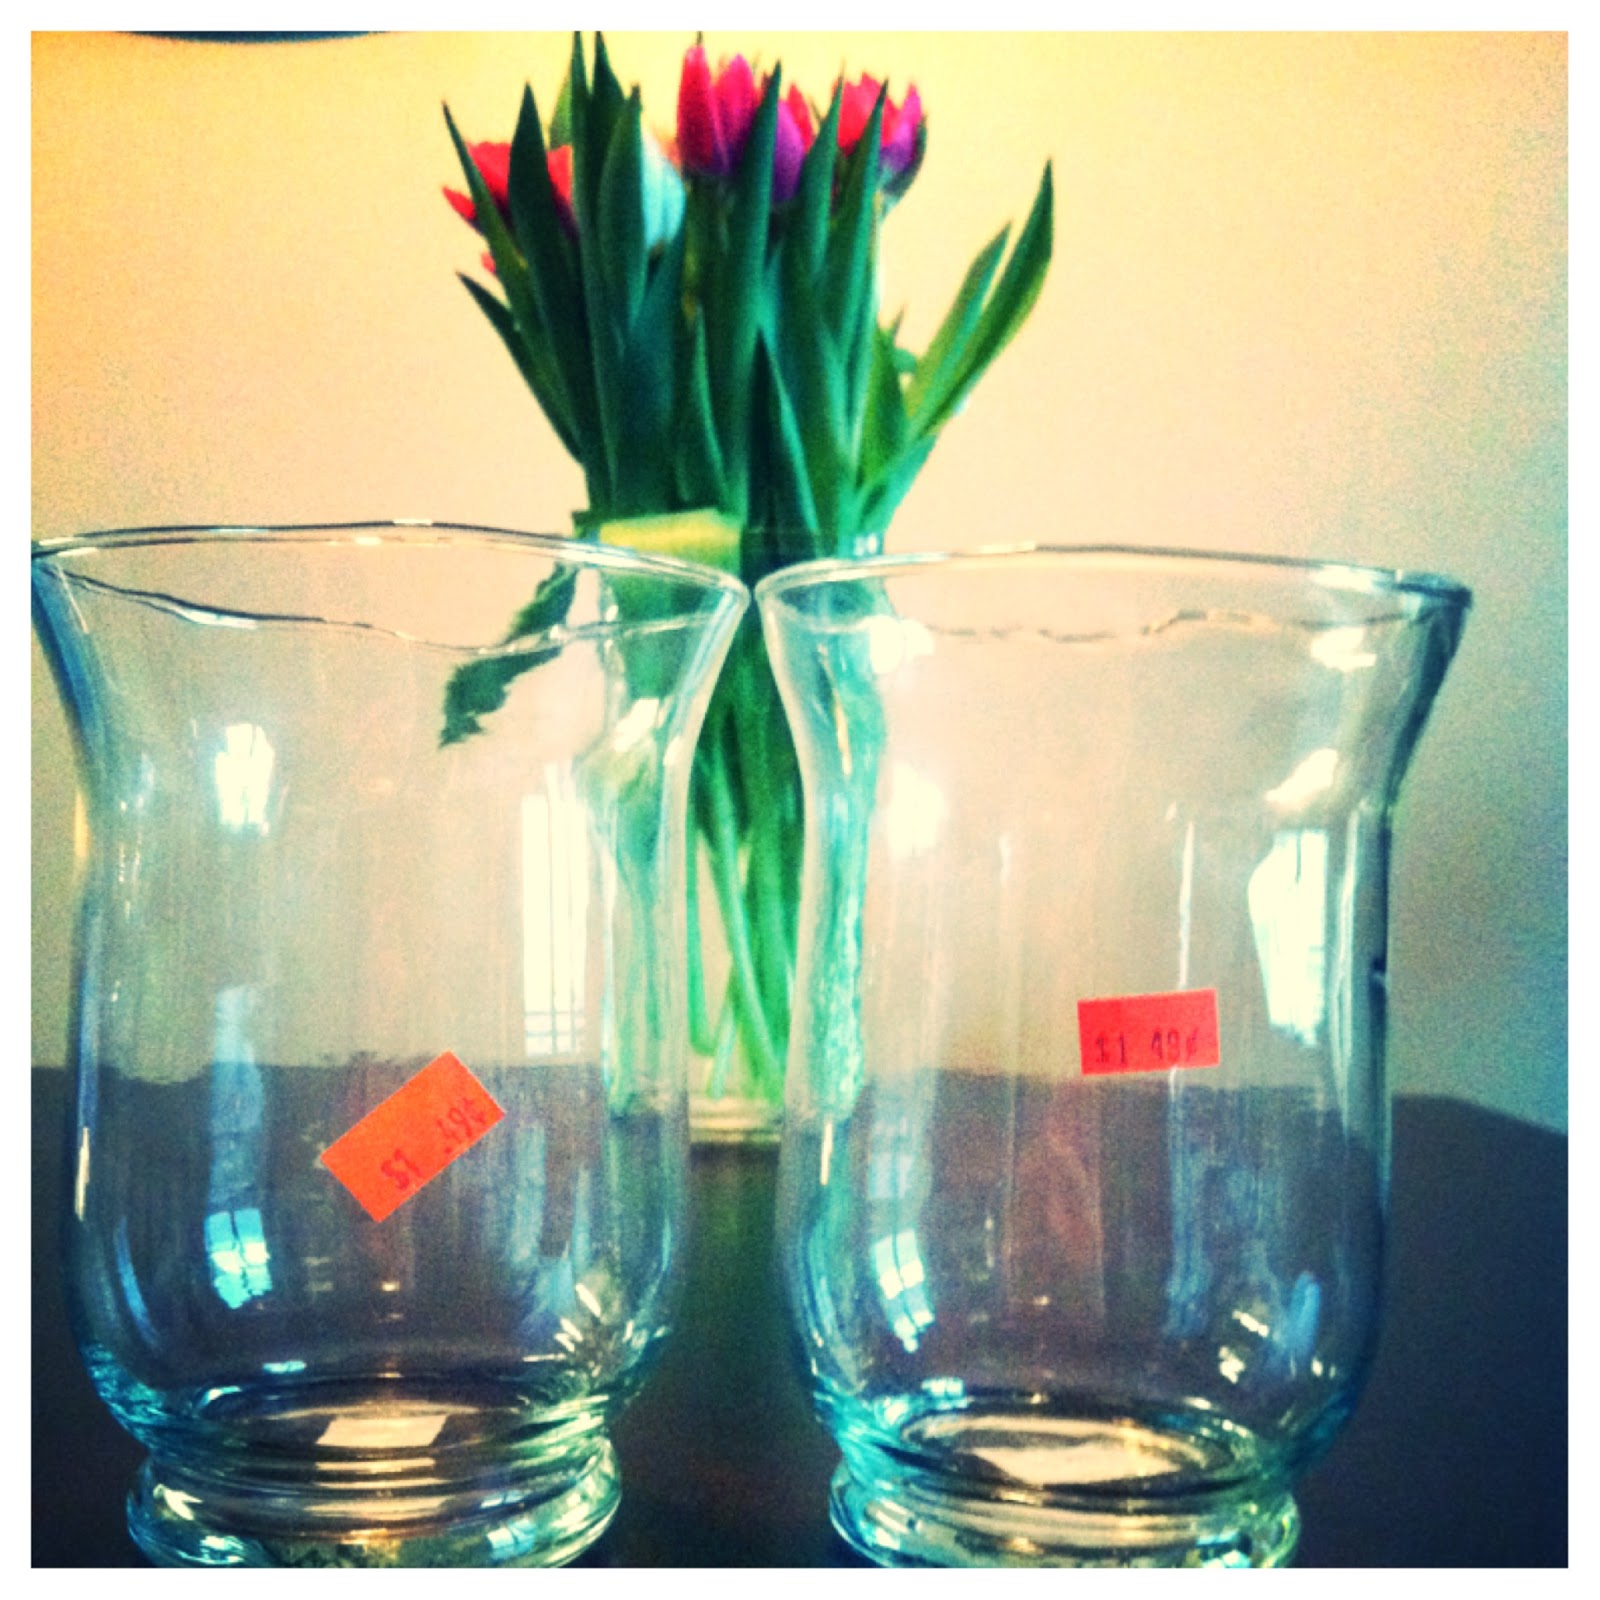
My two glass canisters ($1.49 at the Dollar Store - big spender!): 


Close up:

Coffee beans:

Beauties:

Brushes in their canister #1:


Brushes in their canister #2:


Bird's eye view:

Coffee beans visible:


Coffee beans, dollar store canisters, makeup brush and tulips...FTW!:


These glass jars sit next to my makeup products, across from the copper bowls. Remember those?

BTW, Danielle told me the best way to clean makeup brushes is to wash them with your regular shampoo.  3 easy steps: Rinse, soak, rinse.
1. Run brushes under water, and wash brushes with shampoo as if you were washing hair.  Rinse the bristles until the water runs almost clear
2. Close the drain on your sink and fill with clean water, add a bit of shampoo and tea tree oil (which is antibacterial) to the water and let brushes sit for 3-5 minutes 
3. Drain water, run brushes under cold water and dry overnight** on a towel

**it's important to let the brushes dry overnight so that the bristles remain in good condition

Later down the line I might gussy these babies up with spray paint. But for now, this is how they'll stay. 

How do you store your makeup brushes? 

xx,
The Future Mrs. Wolf

Wednesday, February 27, 2013

Chia Pudding

So for weeks. And weeks. And weeks I saw chia pudding all over twitter and pinterest.  Like me with a can of spray paint.  It was everywhere!

Do you know what chia seeds are?  They are the seeds from those little furry green "pets" from my (and maybe your) childhood.  Chia seeds are tiny little things bursting with nutrition: protein, fiber and healthy fats.  You know what that means...they'll help to keep you feeling full for longer.  And that, my dear readers, is a very good thing. 

I like to let mine sit overnight...think of it as the overnight oats of the chia world.  The longer they sit, the more gelatinous they get...and that's (another) good thing.  A very good thing! If you can't wait overnight, let sit at least an hour while the pudding gels.

Ingredients for one serving:
1/2C skim milk or unsweetened almond (or soy milk - use whatever you like and have on hand)*
3tbsp chia seeds
1/2tsp cinnamon

optional add ons: 1 sliced banana or apple; 1tbsp: raisins, dried cranberries or PB2; 1/2oz: chopped walnuts or almonds; sweetener: honey, maple syrup or splenda

*This recipe is for a very thick pudding, if you would like yours slightly thinner, use 3/4C  milk (nutrition information below will change).

Directions:
1. In a small bowl mix the milk and chia seeds, combine very well
2. Add in cinnamon and optional items, stir again**
3. Cover and refrigerate overnight
4. Enjoy, cold, the following day (you may want to add toppings here, instead of into the pudding)

**It's important that you stir the pudding well because the seeds release their gelatin-like substance better when they are immersed in liquid.

What you'll need:


Chia seed close up:

Nutrition information:


Chia and milk:


Keep mixing:

Adding in cinnamon:


Keep mixing:


In the nutrition world, we call this "spoon-thick," you should just call it "good":


Toppings added in at the end:


Nutrition information per serving made with skim milk, no sweetener:
210 calories, 24g carbohydrates, 10g fat, 11g protein, 13g fiber

Nutrition information per serving made with unsweetened almond milk, no sweetener: 170 calories, 16g carbohydrates, 11g fat, 6g protein, 14g fiber

When adding any extra fiber into your diet, it's important to drink additional water and this is no exception.  Chia seeds are great mixed into smoothies, oatmeal, yogurt, cookies or bars.  They'll take on the flavors you add, so be creative and enjoy!  I'm thinking about making protein pancakes with them this weekend...

Have you ever tried chia seeds or chia pudding?  What do you add into yours?


xx,


The Future Mrs. Wolf

P.S.: Word to the wise...whatever you do, try not to drop the container of chia seeds.  You will drive yourself crazy trying to clean them up!  Not that I know first hand...

Tuesday, February 26, 2013

VitaMuffin Mixes

Do you remember when Vitalicious sent me their Vitapizzas to sample? Okay, maybe you don't...so you can follow that link to refresh your memory.  Well, they also sent me baking mixes. Thank you, Vitalicious!


This weekend Boo and I sampled the banana muffin and corn muffin varieties. 

For all the non-bakers out there, this product is for you! The corn muffins only need 2 ingredients plus the mix: egg whites and water. And the banana muffin only 3: egg whites, water and chocolate chips or walnuts. In retrospect, I probably should have added in an almost-too-ripe banana. That would have brought the ingredients a whopping 4!  


Better yet - these muffins are 100 calories or less each when prepared according to the directions.  If I had added a banana in, the caloric impact would be minimal since it's split over a dozen (12) muffins. Curious about the math? 1 small banana is around 80 calories. 80/12= 6.6. Less than 7 additional calories. 

Want more? You won't have a huge amount of dishes to do when you're finished with these muffins. I used one bowl. Who wants to do dishes after baking? 

The corn muffins are not overly sweet. Which I appreciated since I used mine to make croutons in a salad (similar to my challah croutons - the day after, I diced a muffin, sprayed with olive oil, seasoned salt+pepper and roasted on 425 about 10mins). Boo spread a bit of a honey on his. 


The banana muffins  had a mild banana flavor, which is why I might add a fresh banana next time. I added chocolate chips. One person in our home really loves chocolate. And I like to bake for this person. Can you guess who it is? 

I added one additional chocolate chip to each muffin. This probably added 8 calories to the total. Again, we're not talking about belt-busting numbers here.  Next time, Ill add walnuts and chocolate chips. 


I used a nonstick muffin tray, sprayed well with olive oil (cooking spray would work fine) which alleviated the need for paper liners:


Each muffin is packed with 15 vitamins and minerals plus fiber --


Nutrition information per serving of corn muffin:
100 calories, 24g carbohydrates, 0g fat, 3g protein, 10g fiber

Nutrition information per serving of banana chocolate chip muffin:
90 calories, 21g carbohydrates, 2.5g fat, 5g protein, 6g fiber

Just for fun, I took a picture of a Jiffy mix:


Looks a little different, huh?

Do you bake from mixes or from scratch? What's your favorite muffin?


xx,
The Future Mrs. Wolf

Disclaimer: Vitalicious graciously sent me complimentary boxes of baking mixes, but I was not compensated for my time or for this blog post.  All opinions are my own. 

Monday, February 25, 2013

Babaganoush

After our Valentine's dinner at Public, I knew I had to recreate their smoky babaganoush. Like -- now. There was no stopping me. It was that good. 

Growing up my mum served eggplant a lot. And so my obsession began. Eggplant parmesan, grilled eggplant, stuffed eggplant and, of course, babaganoush.  This was not new territory for me. But, I needed that smoky flavor from Public. Needed.  Not wanted.  Serious business here - that level of smoky is not traditional to all babaganoush recipes. 

Ingredients:
2 medium eggplants, skin scrubbed and dried
1tbsp olive oil* 
1-2tbsp tahini (sesame paste)
1 lemon, juiced 
1/2tbsp garlic, minced 
Kosher salt

*I use a misto to spray the eggplants before they hit the broiler, if you don't have a misto, put a little olive oil on a clean paper towel and give the eggplants a good rub down (it's the massaged kale of the eggplant world). 

Directions:
1. Turn your broiler on high 
2. Scrub the eggplants under cool water, dry thoroughly, pierce well with a fork 
3. Lightly spray the eggplants with olive oil, or rub with a paper towel
4. Place the eggplants in a disposable aluminum baking sheet (or use a dishwasher safe baking sheet -  I chose disposable because I didn't want to clean the broiled-on mess)
5. Broil the eggplants until shriveled and charred (about 45-55 minutes depending on your broiler), after 20 minutes, turn the eggplants, continue to do this every 10 minutes until  really (really!!) charred
6. Once the eggplants have reached your desired char and shrivel, remove from the boiler and let cool just slightly - I like to work with slightly warm eggplants because I think the tahini blends better with warm eggplant
7. Remove the stems and discard, roughly dice eggplant (skin, seeds and all)
8. Place in a food processor* and blend until just soft enough that no big pieces of flesh or skin are visible 
9. Empty eggplant into a bowl, add 1tbsp each tahini and olive oil, followed by lemon juice, garlic and salt
10. Taste your babaganoush and add more tahini and salt if you'd like (trust your judgement here, many people prefer this dish heavy on the sesame flavor, others not so much)
11. Refrigerate until serving with bread, pita chips, carrots, or anything else  

*There are a million schools of thought here.  Okay, not one million, exactly - that's an exaggeration - but there are a lot.  I prefer this method because I want all of the charred goodness in my babaganoush.  If you aren't a charred fan like I am, you may wish to remove the eggplant's flesh from the skin (do this by halving the eggplants then scraping the flesh from the skin with a spoon) then mash the flesh until soft. Both methods work just fine.  Much like most aspects of cooking, it's personal preference. 


The pioneer woman once told me to pierce my eggplants.  So, pierce I did...When she talks writes, I listen.  It's a very simple relationship. 


Really get in there, we're not dainty pierces:


After broiling 55 minutes:

Stems removed:

Chopped eggplant in the food processor:


Eggplant after processing:

Tahini, olive oil and lemon juice:


Garlic:

This dish needs salt -- no other way around it:


Babaganoush is like a cozy couch...not that pretty to look at, but so good.  The final product was a little bit too ugly for the interwebs.  But, I promise you the recipe is tasty. 

Do you like smoky flavors? I'd love to hear from you if you try this babaganoush!

xx,
The Future Mrs. Wolf

Sunday, February 24, 2013

DIY Flowers (sort of...)

Have you ever displayed a bouquet of flowers, and a few days later some stems have died?  I find this often happens when there are two different colors of the same flower.  I attribute this to one color or variety being fresher than the other, but it's just a guess.  I'm no botanist, just a gal with some common sense. 

Anyway, I hate to waste flowers.  Actually I hate to waste anything.  But, especially flowers.  So, what's the solution to one variety dying before another? DIY another bouquet!  

This time, limited studio time is required...

Directions:
1. Remove dead stems from vase, discard
2. Cut down the stems of the living blooms and place in another vase filled with water*
3. Place around your home

*I prefer to use smaller bud vases when I do this, because if there are not enough to fill a larger vase it will look scarce and silly.  I prefer round and rotund.  A revamped candle jar would work well, too.

Here's where we started (the white blooms died first, and the pink lived on!):


Close up of the bud vases:


And another:


Bird's eye view of our side table:


What do you do with flowers when some have died and some have not?  Hope you will try this idea and let me know how it works for you!

xx,
The Future Mrs. Wolf

Saturday, February 23, 2013

Imelda Marcos Never Suffered This Fate

I had a favorite pair of boots in need of some serious TLC.  I'm not just talking about a shoe shine.  She needed leather dye, shoe polish, the whole nine yards.  And lots of it. But this is NYC and the guy on the corner can do that, amongst a million other things. Resole Louboutins? Yes! Fix the leather and chain link strap on a Chanel bag? Done. You get the picture...

The boots looked so good when the cobbler was finished with them. And I couldn't wait to wear them. Literally. Boo and I had dinner plans last night and I needed to wear them. So I did. And woke up this morning to 50 black scuffs covering the floor in kitchen to the living room to the bathroom.  My first thought was that this was just rubber scuffs from the soles of our shoes. But all this in just one night? Then it hit me - our apartment was covered in black shoe polish.

Call in the National Guard. This was no joke. I can't have it. How can I get this out? Will it stain? How will I explain this to prospective buyers if we put the apartment on the market? "Sorry about the shoe polish, I really wanted to wear boots after a fresh dye job." Yeah, no. Not going to fly. 

Here's a brief showing of our flooring:


I parked myself in front of my cleaning supplies, wondering what I could use. I tried a damp towel...No. Windex...No. Clorox wipes...No. Then, I remembered I has fresh pack of my best friend - Mr. Clean Magic Eraser. And He worked!  Not only did he remove the actual markings, he left no trace of them at all. In fact I couldn't even find the spots after I scoured our entire apartment. It worked on granite, hardwood and marble. That's pretty good for a petite white sponge...

Directions:

1. Dampen the sponge and wring it out (you don't want the sponge to drip)
2. Apply pressure with the sponge to the area in need (in my case, our whole apartment - NBD) 
3. Continue step #2 until stain is gone

I have found that Magic Erasers work for so many household cleaning issues: mirrors, sinks, an accidental spray paint error, kitchen appliances and baked on messes in stoneware.  I could go on.  I wish I understood how these guys worked so that I could impart impressive knowledge to you all.  But, I don't.  Then again, they are magic.  We might never know...

Have you recently suffered from a home mishap?  

xx,
The Future Mrs. Wolf