Tuesday, October 15, 2013

Garlic Rosemary Butternut Squash

My mother is responsible for my obsession with squash.  We always blame Mum!! Just kidding, my mum is #1, and this is a good blame. Even as a little girl, my favorite dish on Thanksgiving was her butternut squash.  Oh, and her whole-berry, tart cranberry sauce.  Oh, and her cornbread stuffing.  Okay, I have a lot of favorites.  But really, the butternut squash is beyond.  Creamy and sweet.  

And now, I can't stop making this version of butternut squash!  It is so good on its own, and in other dishes.  Hot. Cold. Room temperature. Scorching your tongue because you can't wait for it to come out of the oven.  All perfectly acceptable methods of consumption.  And it screams hearty comfort.  It's a big bear hug kind of food.  Plus, it's so much work to clean the squash, it's totally appropriate to count the prep work as cardio.  Hallelujah!

Ingredients:
1 large butternut squash, peeled, cored and diced
5-7 cloves garlic, minced
4 sprigs rosemary, minced
1 tbsp olive oil 
salt and pepper 

Directions:
1. Preheat oven to 425 and grease a baking sheet
2. In a food processor, pulse garlic and rosemary until well chopped*
3. Toss butternut squash with garlic, rosemary and sea salt, spread in one layer over a baking sheet
4. Bake for 25 minutes, flip and bake another 20 minutes or until the butternut squash is cooked (tender on the inside)

*this can, of course, be done by hand...but why? you just put in so much time at "the gym". 

Smells like Christmas: 


Into the oven:


Our finished product:


Served in a romaine salad with cipollini onions and blue cheese: 


How do you prepare butternut squash?  Hope you enjoy...

xx,
The Future Mrs. Wolf

Monday, October 14, 2013

Apple Cinnamon Sugar Streusel Muffins

MY PEOPLE!  I need to apologize.  Things have been so busy here at the Wolf den.  I am back in school full-time to finish my Masters degree, after completing my Dietetic Internship.  Then there is wedding planning.  Plus, I've been studying for my licensing exam like a lunatic fueled on coffee and garbage salads.  But, I am so happy to report that I passed!  And I am officially a Registered Dietitian.  Yippee!


  ::jumping up and down:: 

Selfless promotion: holler at your girl if you are looking for a nutritionist.  I'm your woman. 

But I have no ego, I know why you are here...and it's not to hear about my schedule.  So...without further ado, here is a banging recipe for some sweet apple muffins. 

Ingredients:

Muffins:
2 cups whole wheat flour 
1 cup sugar
1 tbsp baking powder
1/2 tsp baking soda 
2 tsp cinnamon
1/2 tsp kosher salt
2 whole eggs
1 cup low fat sour cream (or Greek yogurt)
1/4 stick of butter, melted 
1 tsp vanilla 
1 1/2 - 2 cups apple, peeled and finely chopped* (about 1-2 apples depending on size)

*I used granny smith because they are tart (and my favorite apple of all time)

Streusel topping:
3 tbsp whole wheat flour  
3 sugar
1 tsp cinnamon 
1 tbsp butter

Directions: 
1. Combine dry ingredients
2. Combine wet ingredients 
3. Preheat oven to 400 degrees
4. Prepare apples (if you do this too soon, they will oxidize and turn brown...while it won't hurt the flavor, it's not as pretty)
5. Mix wet and dry ingredients together until just combined
6. Add apples and stir
7. Evenly distribute on a muffin pan, about 2/3 full**
8. Make the streusel topping by cutting the butter into the dry ingredients
9. Top each muffin with about 1 tsp of the streusel mixture, pressing it gently into the batter 
10. Bake for 18-22 minutes until a toothpick inserted into the center of the muffin comes out clean

** this makes about 1-1/2 dozen, depending on the size of your muffin pan and the amount of apple you use

I made a few swaps on a traditional muffin recipe, namely whole wheat flour and low-fat sour cream.  Whole wheat flour adds fiber and wholesomeness.  I used low-fat sour cream instead of oil...because we had in the house, but also because it keeps things light and lively.  And who doesn't want a light and lively muffin?  I thought you did. 

Streusel is like that happy friend you just want to squeeze every time you see her.  It's easy and tasty and sweet and crunchy and doesn't shame you when you by mistake on purpose eat the whole tray of muffins in one sitting. It is so good. Plus my really good friend, Boo is obsessed with streusel.  So, it's a win-win. 

In the interest of research, I filled the muffin pan normally, but still had some leftover  batter.  It only seemed appropriate to test this recipe in a donut pan.  Success! Apple Cinnamon Sugar Streusel...Baked Donuts!  Yes! 

What you'll need:


Awaiting baking, be sure to take your rings off for this step -- it can be a little messy:


Sitting pretty:


Streusel close up:


Donut version:


If you make this recipe yourself, I'd love to hear what you think.  Did you use Greek yogurt or sour cream?  What's your favorite apple to bake with?

xx,
The Future Mrs. Wolf 

Tuesday, September 10, 2013

How To Pickle Onions

This is my new favorite food.  Seriously, what took me so long?!  I'm almost mad at myself for waiting until now to try pickling!  Anyway, now that I've done it, I can't stop.  Truly, I've been pickling anything I can get my paws on.  Watch out, Boo.  Sort of Totally kidding...

I made these recently for our shrimp tacos.  Remember this tomatillo salsa?  Together they make one pungent bite!  It is so good...

Ingredients:
1 C water
1/2 C vinegar (apple cider, if using white onion, or red wine, if using red onion)
1 tbsp sugar
1 1/2 tsp kosher salt 
1 onion, thinly sliced

1 clean, canning jar (I use these Ball Mason Jar)


Directions:
1. In a bowl, whisk water, vinegar, sugar and salt until sugar and salt are dissolved, set aside
2. As best you can, thinly slice onion
3. Place onion in jar, cover with pickling liquid
4. Cover tightly and allow to sit at room temperature at least 1 hour prior to serving (or longer if you have the time)

What you'll need:


Peel the red onion, remove the bottom and the top root ends of the onion and place it down flatly on the cutting board, slice it down the middle:


Hold the onion so that the cut side is facing outward, slide a sharp knife down the onion creating very thin slices:

please be careful not to slice your fingers in this process...no need to photograph! 

Jarred goodness:


Finished product with yesterday's tomatillo salsa and other toppings:


We had huevos rancheros one morning for breakfast and I topped our eggs with the pickled onions:


These ladies definitely get better with age.  And the options are endless -- doesn't everything taste better with pickles?  Okay, maybe not everything, but most things...

I'd love to hear from you if you try this recipe!  Hope you enjoy...

xx,
The Future Mrs. Wolf 

Monday, September 9, 2013

Tomatillo Salsa

After having been away from our apartment for almost a month, Boo and I were eager for a home-cooked meal.  Too much eating out!  A certain someone requested a Mexican theme and off we went...


Have you ever bought tomatillos?  They come wrapped in a thin husk, which covers the fruit which feels sticky when the husk is peeled away.    Like really sticky.  But don't worry, this is normal.  

This recipe is probably one of my new favorites.  Probably because it involves almost no effort on my part.  Lazy? No! Efficient? Yes! 

Ingredients for 1C salsa:

4 tomatillos, husk removed, skin rinsed and dried, quartered
1/2 jalapeño, ribs and seeds removed, diced
1/2 red onion, sliced
1 lime, juiced
1/3 C cilantro
1 pinch kosher salt 

Directions:

1. Add all ingredients to food processor
2. Blend until just combined
3. Refrigerate and serve chilled*

*in a ramekin...everything is better in a ramekin

Tomatillos - some with husks, some without:


Quartering the tomatillos -- easily the hardest part of this recipe:


Ingredients awaiting transport to the food processor:


Here's the final product on the top right, set up with the other toppings for our shrimp tacos: 


This salsa is tart and refreshing, without being overly spicy.  It's a bit more watery than traditional jarred salsa, but it is so much better. I can't wait to make the recipe again!

I'd love to hear from you if you sample this recipe for your own Mexican food night.  Stay tuned for more recipes from the evening! Hope you enjoy...

What's your favorite kind of salsa?

xx,
The Future Mrs. Wolf

Friday, August 16, 2013

Smashed Garlic and Avocado Vegetable Sandwich

It's confession time here on The Domesticated Wolf: I love carbohydrates. Low-carb diets be damned, I can't pass up good bread. 

Our local farmers market offers a lovely selections of artisanal products.


I recently bought plush multigrain rolls for veggie burgers and had two leftover. More sandwiches! Goodie goodie...


Ingredients for two sandwiches:
1/2 eggplant, sliced 
1/2 zucchini, sliced 
1/2 onion, sliced 
1 whole tomato, sliced 
2 cloves garlic, peeled
1/2 avocado
1 oz good blue cheese
Olive oil
Salt + cracked black pepper
2 doughy sandwich rolls

Directions:
1. Preheat oven to 400
2. Slice eggplant, onion and zucchini and peel the garlic  
3. Salt eggplant, set aside and let sweat 15 minutes
4. In a heavy-bottomed, cast-iron skillet coated with olive oil, caramelize the onions over medium-low heat, remove from heat when finished
5. With a damp paper towel, remove the liquid and any residual salt from the eggplant
6. With a pastry brush, coat both sides of each eggplant and zucchini round with olive oil, season lightly with salt and pepper 
7. Place the eggplant on a greased baking sheet, cook for 15 minutes in the oven, then flip, cook another 15 minutes
8. When the eggplant has cooked on one side, place zucchini in the oven for about 15 minutes, or until well roasted (zucchini can cook down very quickly, so be mindful)
9. With 10 minutes left on the zucchini timer, place whole garlic cloves on the same baking sheet as the vegetables and allow to cook until soft
10. With 3 minutes left on the zucchini timer, evenly distribute blue cheese on the zucchini, allow to melt
11. Toast the bread
12. Slice the tomato
13. Remove all roasted vegetables from the oven
14. On a plate, smash the garlic into a spreadable paste
15. On one side of the bread evenly spread the avocado, on the other evenly spread the roasted garlic paste 
16. Finish building the sandwiches: eggplant, blue cheese zucchini and sliced tomato, top with caramelized onions

Some of what you'll need:


Roasted eggplant:


Blue cheese zucchini:


Starting to stack:


Finished product:


Someone Boo called me crazy for making a sandwich with so many moving pieces. Until he tried it! The combination of cooked and raw foods is the bomb - in least dangerous way possible (safety first!).  Plus who can argue with any excuse for garlic, avocado and caramelized onions (my favorite foods!) in one bite? Wham, bam, thank you ma'am. 

What's your favorite sandwich?  Hope you enjoy...

xx,
The Future Mrs. Wolf

Wednesday, August 14, 2013

Zucchini Chocolate Chip Banana Bread


Are you guys sick of banana bread yet? Oh good, neither are we. Remember this version?  Well, this one is jazzed up. And near vegan. That's probably not a real thing -- it either is or it isn't. But I will call this almost-vegan. And it can be made fully-vegan quite easily. Or amped up with even more animal products. To each her own...

Ingredients for one loaf:
1C whole wheat flour
3/4C sugar
1 tsp cinnamon 
1 tsp baking powder 
3 ripe bananas, mashed (about 1C)
1C zucchini, grated
1 egg
2 tbsp coconut oil (or butter), melted
1 tsp vanilla
1/2C semi-sweet chocolate chips 

Directions:
1. Preheat oven to 350 degrees 
2. In a large bowl, mash bananas and mix with sugar, egg, coconut oil and vanilla, set aside
3. Measure the other dry ingredients and combine in a medium sized bowl 
4. Grate the zucchini with a box grater, add to banana mixture 
5. Slowly add the dry ingredients to the wet and incorporate
6. Fold in the chocolate chips
7. Grease a loaf pan, pour in batter and cook for 60 minutes (cook time with depend on the size and ripeness of bananas)
What you'll need:


Zucchini and banana mixture:


Dry ingredients:


Finished product:


Side shot:


Close up on splitsies:


Whole wheat flour and zucchini give this loaf a bit more body than a traditional banana bread. Extra nutrition, similar taste and chocolate? We're in. 

Plus, with only a little fat added to the recipe, there's more room for heavenly toppings -- whipped cream cheese, sea-salt butter, ricotta cheese, homemade frosting, caramel. Okay, maybe not caramel. But it's something I've been itching to make. And really, what doesn't work with caramel?

Have you ever baked with zucchini?  Hope you enjoy...

xx,
The Future Mrs. Wolf

Tuesday, August 13, 2013

Hot Potatoes!

To call these "smashed" suggests a totally very different kind of dish. However, these are only "smashed" in the sense that they are flattened -- not mashed. And crispy. And flavorful.  And garlicy.  And a perfect base for a poached egg. Oozing yolk. Oh yes, talk to me. 


I've made this recipe using small, red skinned potatoes, and now larger boiling potatoes. Both versions work well. Just offer different results. But who can argue with potatoes? I mean really -- "I hate crispy potatoes bathed in olive oil and roasted garlic!" - said no one ever. Without further ado...


Ingredients for two servings:
2 round white potatoes or 4 red bliss potatoes (although really, any small potato will do),             fork pricked
2 cloves garlic, minced
2 eggs, poached
4 scallions, chopped
olive oil 
Kosher salt + pepper
white vinegar

Directions:
1. Fill a pot with cold water, place potatoes in water and bring to a boil, cook until just fork tender 
2. Preheat the oven to 450 degrees
3. Peel garlic by placing garlic on a cutting board, covering it with the blade of a chef's knife or santoku knife, and pressing down on the blade of the knife with the palm of your hand
4. Chop the garlic and place in a lightly-oiled cast iron skillet, cook on low until just golden brown, set to the side and re-oil the cast iron skillet
5. When the potatoes have finished cooking in the boiling water, place potatoes into the same lightly=oiled cast iron skillet where you cooked the garlic
6. With the bottom of a drinking glass or mason jar, lightly press the potatoes until they just burst open, brush with olive oil and season with salt and pepper
7. Using a pastry brush, lightly coat potatoes with olive oil
8. Cook the potatoes for 18 minutes in the oven, then remove from oven and place the golden brown garlic on top of the crispy potatoes, cook for another 4 minutes
9. Crack each egg into its own ramekin
10. Chop scallions
11. Bring a pot of water to boil and add in vinegar.  Take the back of a wooden spoon and swirl the water to create a mini-whirlpool, then slowly pour each egg from its ramekin into the water, cook each egg 2-1/2 to 3 minutes, depending on how firm you like your yolk, remove with a slotted spoon when eggs are finished cooking
12. Plate half of the potatoes onto each plate, and one egg on top of each potato mixture
13. Season with extra salt + pepper (if you'd like) plus chopped scallions

Potatoes:


Scallions + garlic:


Pricking the potato:


Smashing the garlic -- please be careful:


Pulverized:


Skinless:


Minced:


Sizzle, sizzle:


Smash:


Finished product:


What's your favorite way to cook potatoes?  Hope you enjoy...

xx,
The Future Mrs. Wolf

Monday, August 12, 2013

Individual Peach Crumbles

Guys, I can't stop baking.  If Boo wasn't such a good eater (bless him!), we would be in  big trouble.  And, if this were twitter, or instagram these would be filled under #CantStopWontStop or #LongHairDontCare.  Both are totally applicable to this recipe. 

As you may know (or may not know as it really is meaningless trivia and your life is likely not really enriched for knowing it...)  Boo and I are knee deep in our CSA. Week after week we are loving our bounty of fresh and local fruits and vegetables. And this week we were blessed with 6 nectarines and 6 peaches!  

So, fast forward to Friday, and here I was with a plethora of peaches and guests coming for dinner...peach cobbler it was!  After all, who can resist an excuse to use these little blue ramekins?*

For the curious minds out there, you may be wondering what the difference is between crisps, crumbles and cobblers.  And if you're not, feel free to skip to the photos below.  They are all quite similar, in fact, starting with a fruit base and three basic ingredients -- flour, butter and sugar.  A crisp includes just the three ingredients previously mentioned.  A crumble adds rolled oats to the mix.  A cobbler is essentially dropped-biscuit topping the same fruit base. 

*You can easily use a small baking dish if you do not have ramekins in your kitchen. 

What you'll need for 4 servings --

Ingredients for fruit portion:
6 medium-sized peaches, sliced
1/2 lemon, juiced 
1/4C granulated sugar
1 - 1 1/2tsp cornstarch (depending on the ripeness of your peaches)

Ingredients for crumble portion:
1/3C whole wheat flour
1/3C rolled oats
1/3C granulated sugar
1/3 stick unsalted butter
1/4tsp sea salt
1/2tsp ground cinnamon
1/4C raw almonds, chopped (optional)

Directions:
1. Preheat oven to 350 degrees
2. Slice peaches, combine with corstarch, lemon juice, sugar and set aside
3. Combine flour, oats, sugar, cinnamon and sea salt, cut butter into the dry mixture, mixing with a fork until well incorporated
4. Butter each of the four ramekins and place peaches evenly amongst them
5. Cover peaches with crumb topping 
6. Place the ramekins on a cookie sheet and bake covered for 15 minutes, remove tin foil and bake uncovered 20 minutes or until the topping is golden brown

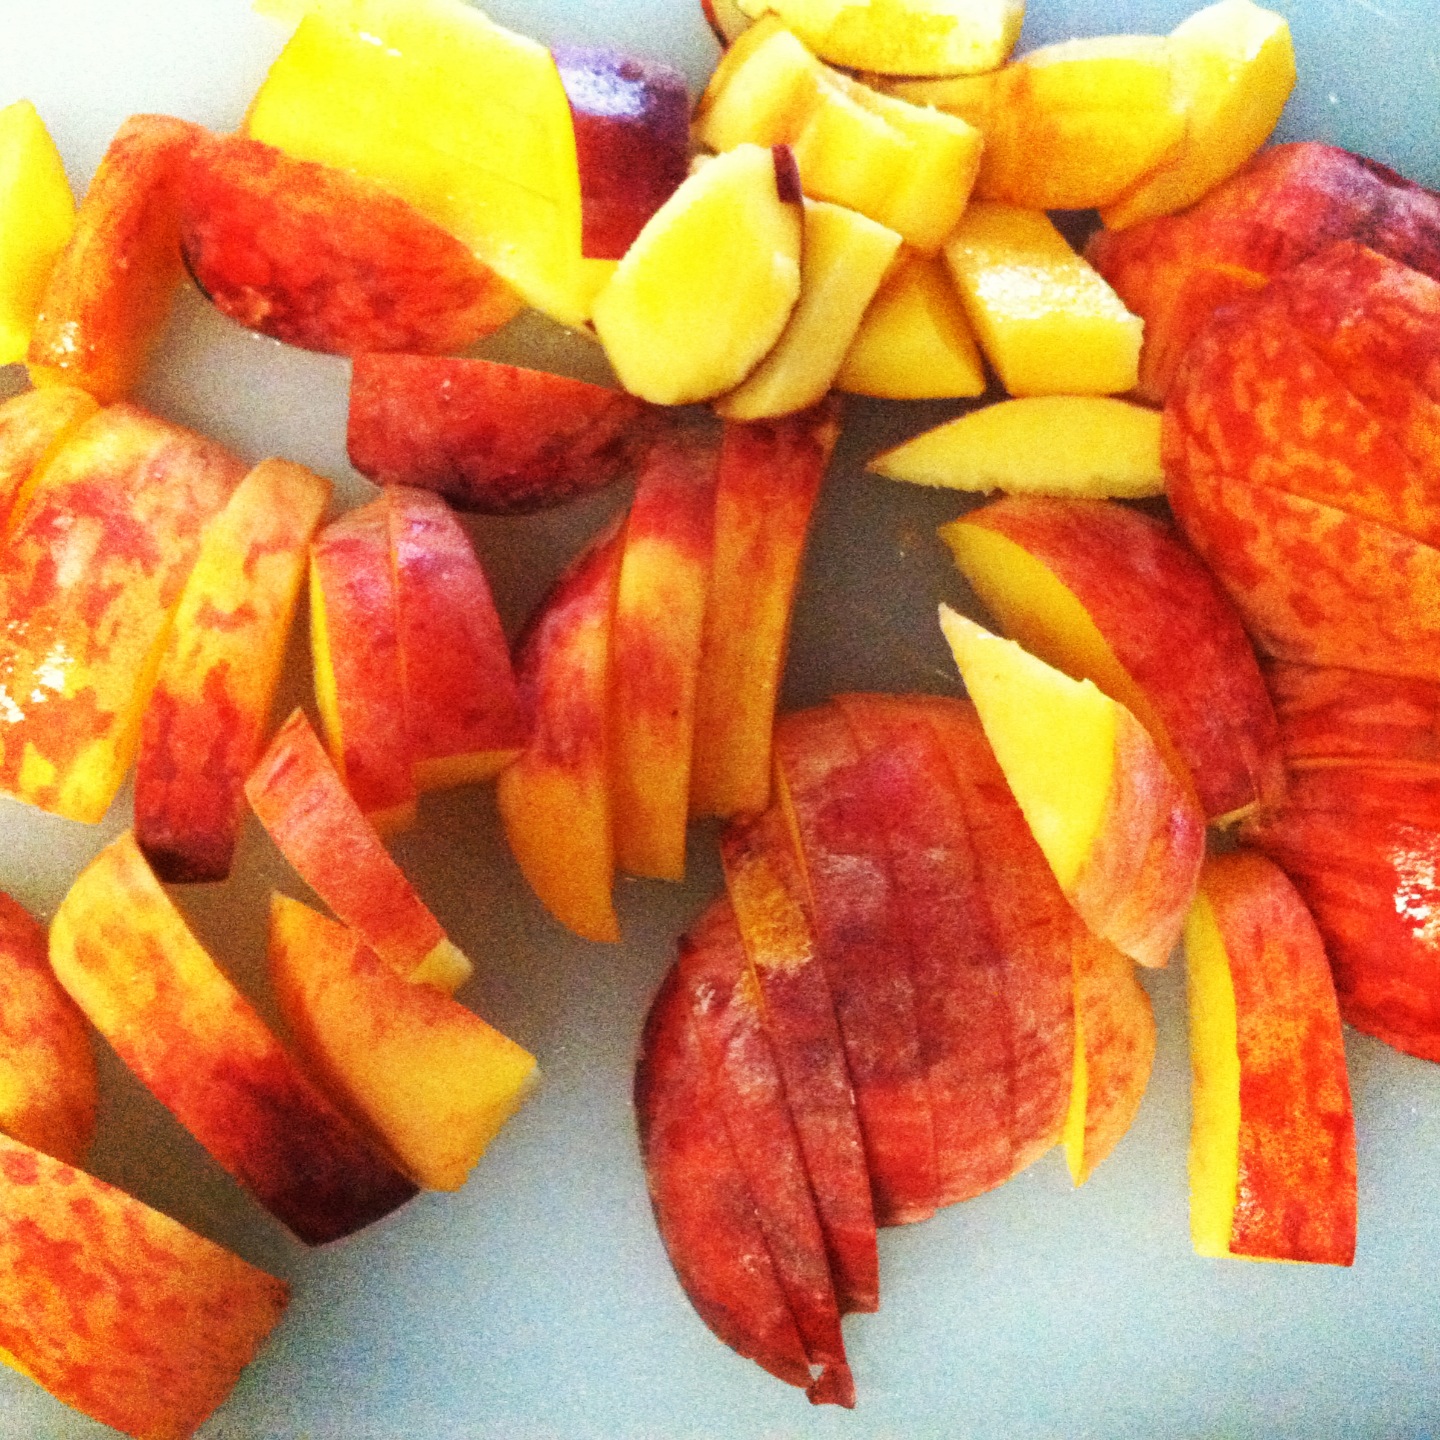
Peaches:


What you'll need:


Sliced peaches:


Mixed with lemon, sugar and cornstarch:


Preparing the crumble:


Butter:


Mixing the butter, flour and oats:


Crumble perfection:


Distribute your peaches evenly (the fruit will cook down, so it's fine to pack it in tightly):


Generously top with crumble:


Hot stone-fruit goodness:


Her close-up:


What's your favorite stone fruit? Hope you enjoy...

xx,
The Future Mrs. Wolf